What You’ll Accomplish: Building AI Workflow Automation in 2026
AI workflow automation is no longer a luxury reserved for enterprise giants — it’s the competitive edge every forward-thinking business needs right now. In this complete guide, you’ll learn exactly how to design, build, test, and deploy an intelligent automated workflow using modern tools like n8n, Zapier, and Make. From connecting your first trigger to implementing AI-powered decision logic, you’ll walk away with a fully functioning automation that saves your team hours every week. Set aside about 60–90 minutes, and let’s build something remarkable together.
The global workflow automation market is projected to reach US$29.95 billion in 2026, and the businesses winning right now are the ones who stopped waiting and started building. As Kissflow puts it: “We’re moving from automation that follows instructions to automation that makes decisions. From static processes to adaptive systems.” This tutorial puts you squarely in that future.
Prerequisites Checklist Before You Start AI Workflow Automation
Before diving into the steps, make sure you have everything in place. Skipping this checklist is the number-one reason beginners get stuck halfway through a build.
- ✅ A free or paid account on n8n (cloud or self-hosted), Zapier, or Make
- ✅ Access to an OpenAI API key (GPT-4o recommended for decision logic)
- ✅ A Google account with access to Google Sheets and Gmail
- ✅ Basic understanding of triggers and actions in any automation platform
- ✅ A use case in mind — for this tutorial, we’ll automate lead qualification from a contact form
- ✅ 60–90 minutes of focused, uninterrupted time
- ✅ A notepad (digital or physical) to log your API keys and workflow IDs
Tools You’ll Need
- n8n — n8n.io (open-source, self-hostable)
- Zapier — zapier.com (beginner-friendly)
- Make — make.com (visual, powerful)
- OpenAI API — for AI decision nodes
- Google Workspace — Sheets + Gmail for data storage and notifications
If you want a done-for-you approach, explore our n8n Workflow Automation Services — our team can build and deploy this for you in under 48 hours.
Step 1: Map Your Workflow Before You Build Anything
The single biggest mistake people make when approaching AI workflow automation is jumping straight into the tool before they’ve mapped out what they actually want to happen. Think of this step as drawing your blueprint before pouring concrete. You wouldn’t skip that in construction, and you shouldn’t skip it here.
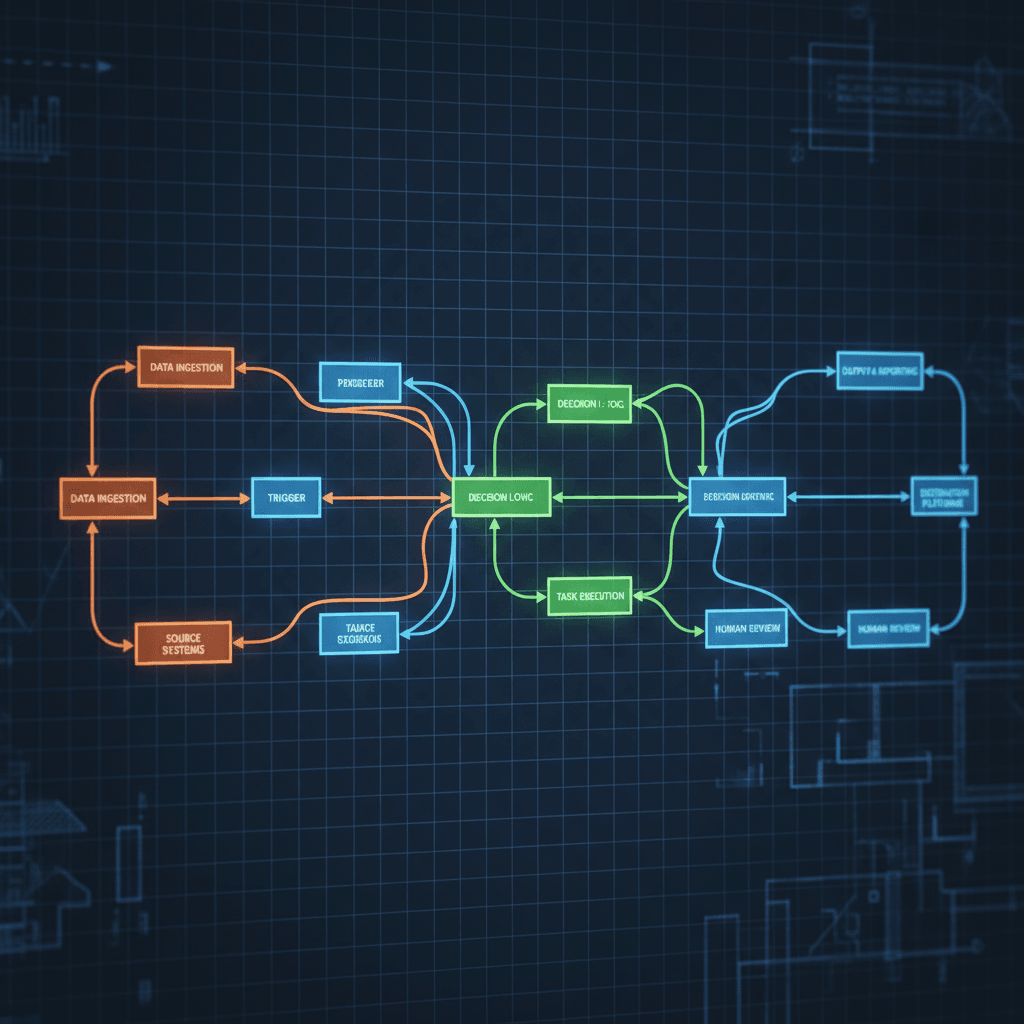
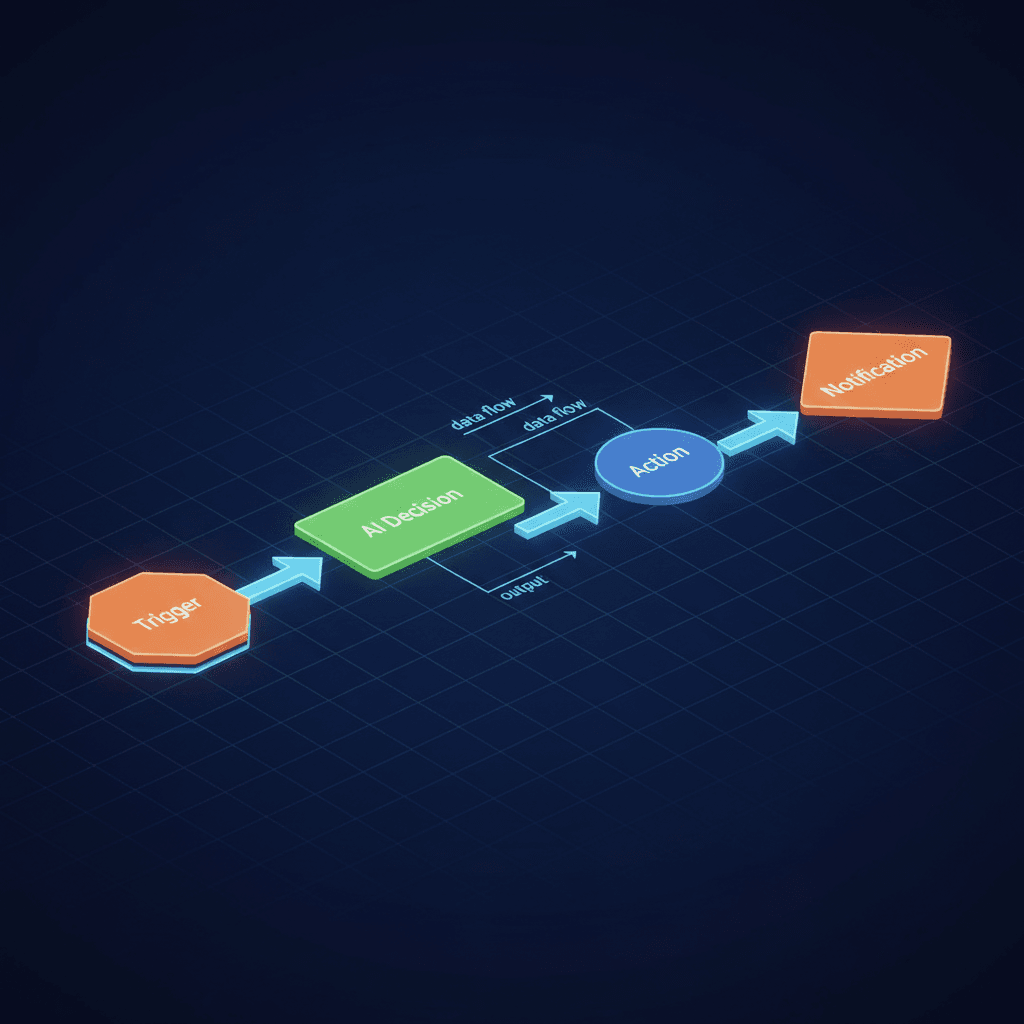
Start by identifying three things: your trigger (what starts the workflow), your logic (what decisions need to be made), and your actions (what happens as a result). For our lead qualification example, the trigger is a new form submission, the logic is an AI model evaluating whether the lead is high-value or low-value based on their message, and the actions are sending a personalized email and logging the result to a spreadsheet.
Open a whiteboard tool like Miro, FigJam, or even a piece of paper. Draw boxes connected by arrows. Label each box with a verb: “Receive,” “Evaluate,” “Send,” “Log.” This visual map becomes your north star throughout the build. When you get confused inside n8n or Make, you’ll refer back to this map instead of second-guessing yourself.
Also at this stage, define your success criteria. How will you know the workflow is working correctly? Write down: “High-value leads receive a personalized follow-up email within 2 minutes. All leads are logged in Google Sheets with a quality score.” Specific, measurable outcomes keep you on track and make testing much easier later.
Expected result: You have a clear, labeled workflow diagram with defined trigger, logic layers, and output actions — ready to translate into your automation platform of choice.
Step 2: Set Up Your Trigger Node for AI Workflow Automation
Now that your blueprint exists, it’s time to open your automation platform and build the entry point of your AI workflow automation. The trigger node is the heartbeat of your entire workflow — nothing runs without it firing correctly.
In n8n, click “Add first step” and search for “Webhook.” Copy the webhook URL provided and paste it into your contact form’s submission endpoint (most form tools like Typeform, Tally, or Google Forms support this natively). In Zapier, create a new Zap and choose “Webhooks by Zapier” or connect directly to your form tool as the trigger app. In Make, add a “Webhooks” module as your first module and grab the custom webhook URL.
Once your trigger is set, submit a test form entry. This sends real data through the webhook so your platform can “learn” the data structure. You’ll see fields like name, email, message, and company appear as available data points for downstream nodes. This is critical — your AI node will need to reference these fields by name.
Take a moment to verify the incoming data looks correct. Check that the email field contains an actual email address, the message field contains the full text of the submission, and no fields are missing or null. If you’re using a form tool that sends data differently (e.g., nested JSON), you may need to add a “Set” or “Transform” node to flatten the structure before passing it to the AI.
Pro tip: Add a note inside your workflow documenting what each incoming field represents. Future-you (and your teammates) will thank present-you deeply.
Expected result: Your trigger node is live, test data has flowed through successfully, and you can see all form fields mapped and available in your workflow editor.
Step 3: Connect Your AI Decision Node
This is where your workflow transforms from a simple relay into a genuinely intelligent system. Adding an AI decision node is the core of modern AI workflow automation — it’s what separates a 2026-ready workflow from a 2019-era “if this then that” chain.
In n8n, add an “OpenAI” node after your webhook trigger. Select the “Chat Completion” operation and connect your OpenAI API key in the credentials section. In the “Messages” field, construct a system prompt that instructs the model on its role. For example: “You are a lead qualification assistant. Based on the following contact form submission, respond with ONLY a JSON object containing two fields: ‘score’ (a number from 1–10 indicating lead quality) and ‘reason’ (one sentence explaining the score).”
Then in the user message field, dynamically inject the incoming form data: “Name: [name], Company: [company], Message: [message].” Use your platform’s expression syntax to pull these values from the trigger node’s output.
In Make, use the “OpenAI (GPT)” module with the same approach. In Zapier, use the “OpenAI” integration and pass the form fields into the prompt using Zapier’s data mapping interface.
Set the model to GPT-4o for best results. Set max tokens to 200 — you don’t need a novel, just a structured JSON response. Enable JSON mode if your platform supports it to guarantee clean, parseable output every time. This structured output approach is essential for the branching logic you’ll add in the next step.
As Cabot Solutions notes, “The focus is moving from ‘Chatbots’ to ‘Workflow-Integrated AI,’ where AI plans tasks, uses software tools, and executes multi-step chains autonomously.” You’re building exactly that. To learn more about this shift, the full analysis is worth reading.
Expected result: Your AI node is returning a clean JSON object with a lead score and reason for every test submission you run.
Step 4: Add Conditional Branching Based on AI Output
Now that your AI is scoring leads, you need to tell the workflow what to do with those scores. This is where conditional branching comes in — the logic layer that makes your AI workflow automation genuinely smart and responsive.
In n8n, add an “IF” node after your OpenAI node. Set the condition: if the score value from the AI response is greater than or equal to 7, route to the “High Value” branch. If it’s below 7, route to the “Low Value” branch. You’ll need to parse the AI’s JSON response first — use a “Code” node or “JSON Parse” node to extract the score field cleanly.
In Make, use a “Router” module with filter conditions. In Zapier, use the built-in “Filter” step or “Paths” feature (available on paid plans) to create parallel branches.
On the High Value branch, you’ll connect a personalized email action (Step 5) and a CRM update. On the Low Value branch, you might connect a nurture sequence trigger or simply log the lead for later review. This branching architecture is what hyperautomation looks like in practice — as Zoho Creator explains, “Hyperautomation—the convergence of RPA, AI, analytics, and process mining—is dominating the automation roadmap in 2026.” You can learn more about these trends in their comprehensive breakdown.
Don’t forget to handle edge cases: what if the AI returns a null score, or the JSON is malformed? Add an error branch that routes unexpected outputs to a Slack notification or email alert so you’re always informed when something breaks.
Expected result: Your workflow now splits intelligently into two or more paths based on the AI’s evaluation, with each path ready to execute different downstream actions.
Step 5: Configure Automated Email and CRM Actions
With your branching logic in place, it’s time to wire up the actual outputs — the actions your AI workflow automation takes on behalf of your team. This is the step where automation starts feeling genuinely magical, because you’ll watch emails send themselves and spreadsheets populate without a single human click.
On the High Value branch, add a Gmail node (in n8n or Make) or a Gmail action (in Zapier). Compose a personalized email template that pulls in the lead’s name and references their specific inquiry. For example: “Hi [name], thank you for reaching out about [topic extracted from message]. Our team specializes in exactly this — let’s schedule a quick call this week.” Use your AI node’s output to make the email feel hand-crafted even though it’s fully automated.
Next, add a Google Sheets node to log every lead — both high and low value — to a master tracking spreadsheet. Map the columns: Timestamp, Name, Email, Company, Message, AI Score, AI Reason, Branch Taken. This log becomes invaluable for auditing your workflow and refining your AI prompt over time.
If you use a CRM like HubSpot, Salesforce, or Pipedrive, add a “Create Contact” or “Update Deal” node on the High Value branch. Most CRMs have native integrations in all three platforms. This is where your Business Process Automation strategy starts to compound — every high-value lead is automatically in your CRM, tagged, and ready for your sales team without any manual data entry.
Expected result: High-value leads receive a personalized email within seconds of form submission, and all leads are logged to Google Sheets with their AI quality score and reasoning.
Step 6: Implement Human-in-the-Loop Review for Edge Cases
One of the most important trends in AI workflow automation for 2026 is the concept of human-in-the-loop — ensuring that a human reviews and approves decisions when the stakes are high or the AI’s confidence is low. This isn’t a weakness in your automation; it’s a feature that makes it trustworthy and enterprise-ready.
Add a third branch to your IF node: if the AI score is between 5 and 6 (the “uncertain” zone), route the lead to a human review step instead of making an automatic decision. In n8n, you can use the “Wait” node combined with a webhook callback — the workflow pauses and sends a Slack message to your team with the lead details and two buttons: “Approve as High Value” or “Mark as Low Value.” When a team member clicks a button, the workflow resumes and executes the appropriate path.
In Make, use the “Wait for Approval” scenario pattern. In Zapier, you can approximate this with a “Delay” step combined with a manual trigger.
This human-in-the-loop architecture is exactly what enterprise teams need to trust AI-driven processes. It ensures that AI workflow automation augments human judgment rather than replacing it entirely for sensitive decisions. You’re building what researchers call “verifiable AI” — systems with auditable, explainable outputs that humans can inspect and override.
For businesses looking to extend this into conversational interfaces, our AI Chatbot Solutions can integrate directly with workflows like this one, creating a seamless end-to-end intelligent system.
Expected result: Edge-case leads trigger a Slack notification to your team, pausing the workflow until a human makes the final call — giving you full control over borderline decisions.
Testing and Validation: Confirming Your AI Workflow Automation Works
Never deploy a workflow you haven’t tested thoroughly. Here’s a structured testing protocol to validate every path of your AI workflow automation before it goes live.
Test 1 — High Value Lead: Submit a form with a clear, detailed, high-intent message (e.g., “We’re a 50-person SaaS company looking to automate our entire sales pipeline. Budget is approved. Ready to start this month.”). Verify the AI scores this 8 or above, the personalized email sends to the test address, and the Google Sheet logs the entry correctly.
Test 2 — Low Value Lead: Submit a vague, low-intent message (e.g., “Just browsing, not sure what I need”). Verify the AI scores this 4 or below, no email is sent (or a nurture email fires if you configured one), and the Sheet logs correctly.
Test 3 — Edge Case Lead: Submit a medium-intent message. Verify the workflow routes to the human review branch and sends the Slack notification with the approval buttons.
Test 4 — Error Handling: Manually break the AI node by entering an invalid API key temporarily. Verify the error branch fires and you receive an alert notification.
Troubleshooting Common Issues with AI Workflow Automation
| Issue | Likely Cause | Solution |
|---|---|---|
| AI node returns empty or null response | Invalid API key or malformed prompt | Double-check your OpenAI API key in credentials; simplify your prompt and test in OpenAI Playground first |
| JSON parse error after AI node | AI returned prose instead of JSON | Add “Respond in JSON only” to your system prompt; enable JSON mode in the API settings |
| Webhook trigger not receiving data | Form tool not sending to correct URL | Re-copy the webhook URL from your platform; ensure your form tool supports webhook POST requests |
| Emails sending to wrong address | Data mapping error in email node | Check that the “To” field references the correct expression path from the trigger node output |
| Google Sheets not logging entries | Sheet ID or tab name mismatch | Re-authenticate your Google account; verify the exact sheet name matches your node configuration |
| Workflow runs but no Slack notification sent | Slack OAuth token expired | Reconnect your Slack integration in the credentials section; ensure the bot has permission to post in the target channel |
ROI and Time Savings: Why AI Workflow Automation Pays for Itself
Let’s talk numbers, because AI workflow automation isn’t just a technical achievement — it’s a business investment with measurable returns.
Consider a team that receives 50 contact form submissions per week. Manually reviewing, scoring, and responding to each one takes approximately 5 minutes per lead — that’s 250 minutes (over 4 hours) per week of repetitive cognitive work. With this workflow running, that time drops to near zero. The AI scores and routes every lead in under 30 seconds, personalized emails send automatically, and the CRM updates itself.
Over a year, that’s roughly 200+ hours of saved labor — time your team can redirect toward high-value activities like closing deals, building relationships, and strategic planning. At an average knowledge worker hourly rate of $35–50, that’s $7,000–$10,000 in recovered productivity annually from a single workflow.
With 24% of businesses already using low-code/no-code automation platforms and another 29% planning adoption, the competitive gap between automated and non-automated teams is widening fast. The businesses that build these systems today will have structural advantages that compound over time.
Next Steps: Expanding Your AI Workflow Automation System
You’ve built your first intelligent, AI-powered workflow — and that’s genuinely impressive. But this is just the beginning of what AI workflow automation can do for your business. Here are the natural next steps to keep building momentum.
Add more triggers: Expand beyond form submissions to include email inquiries, social media mentions, or calendar bookings — all feeding the same AI qualification logic.
Refine your AI prompt: After two weeks of live data, review your Google Sheet logs. Are the scores accurate? Adjust your system prompt to improve precision based on real-world patterns.
Build a reporting dashboard: Connect your Google Sheet to Google Looker Studio or Notion to create a live dashboard showing lead volume, average AI scores, and conversion rates by branch.
Explore multi-agent workflows: For more complex processes, consider chaining multiple AI agents — one for qualification, one for personalization, one for scheduling. This multi-agent architecture is one of the defining trends of AI workflow automation in 2026.
Whether you’re just starting out or ready to scale, AI workflow automation is the most powerful lever you can pull to grow your business without growing your headcount. The tools are accessible, the ROI is clear, and the competitive advantage is real. Start with this workflow, master it, and then keep building — your automated future is waiting.
Your Team Is Drowning In Repetitive Tasks
We automate them with AI so you can focus on growth