How to Automate Shopify Order Fulfillment Workflow: What You’ll Accomplish
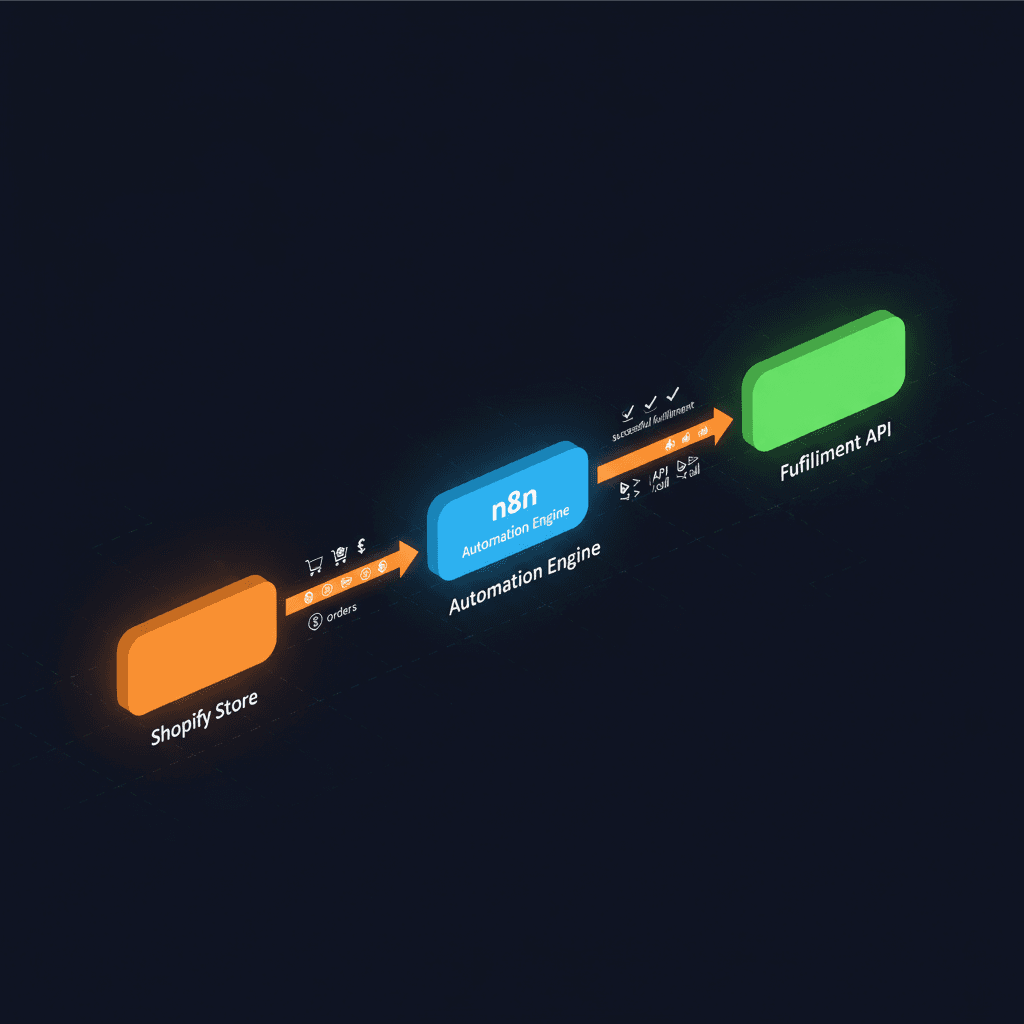
If you want to automate Shopify order fulfillment workflow and stop spending hours every day manually processing orders, you’re in exactly the right place. In this tutorial, you’ll build a fully functional n8n automation that retrieves unfulfilled Shopify orders, fetches their Fulfillment Order IDs, and marks them as fulfilled — all without you touching a single order manually. From start to finish, expect to invest about 45–60 minutes setting this up. After that, your workflow runs on autopilot, 24 hours a day, 7 days a week.
Whether you’re processing 50 orders a month or 5,000, the ability to automate Shopify order fulfillment workflow saves you real, measurable hours and dramatically reduces the risk of human error. Stores that rely on manual fulfillment consistently struggle with delayed shipments, missed orders, and frustrated customers. You’re about to fix all of that.
“With the right app, you can save time on repetitive tasks, ship faster, and boost customer satisfaction with real-time tracking.” — FullStro
Prerequisites Checklist Before You Automate Shopify Order Fulfillment Workflow
- An active Shopify store (any plan; Shopify Plus unlocks additional Flow features)
- A Shopify Admin API access token with read/write permissions on Orders and Fulfillments
- An n8n account — self-hosted or n8n Cloud (free tier works fine to start)
- Basic familiarity with n8n’s canvas interface (drag, drop, connect nodes)
- Your Shopify store’s subdomain (e.g., yourstore.myshopify.com)
- A test order in “unfulfilled” status ready to use during validation
- Optional: a 3PL provider account if you’re routing to a third-party logistics service
Tools You’ll Need
Here’s everything you’ll be working with throughout this tutorial:
- n8n — your core automation engine. Visit learn more about the official Shopify fulfillment workflow template on n8n’s site.
- Shopify Admin API — REST endpoints for orders and fulfillments
- Order Automator (optional) — a Shopify app for stores wanting a no-code alternative; learn more on the Shopify App Store.
- Orchient’s n8n Workflow Automation Services — if you’d prefer expert help building and maintaining this for you
Step 1: Generate Your Shopify Admin API Credentials
Before n8n can talk to your Shopify store, you need to create a custom app in your Shopify admin panel and generate a secure API token. This is the authentication layer that lets your automation read order data and write fulfillment updates without requiring you to log in manually each time.
Start by logging into your Shopify admin dashboard. Navigate to Settings → Apps and sales channels → Develop apps. If you haven’t enabled developer tools before, Shopify will prompt you to allow custom app development — click “Allow custom app development” to proceed.
Next, click Create an app and give it a descriptive name like “n8n Fulfillment Bot.” Under the Configuration tab, click Configure Admin API scopes. You’ll need to enable the following scopes: read_orders, write_orders, read_fulfillments, and write_fulfillments. These four permissions are the minimum required to automate Shopify order fulfillment workflow end to end.
Once you’ve saved your scopes, navigate to the API credentials tab and click Install app. Shopify will generate your Admin API access token — this is shown only once, so copy it immediately and store it somewhere safe like a password manager. Also note your store’s subdomain (the part before .myshopify.com). You’ll need both values when configuring your n8n credentials in the next step.
Expected result: You have a Shopify Admin API access token and your store subdomain ready to paste into n8n.
Step 2: Set Up n8n and Import the Shopify Fulfillment Template
Now that your Shopify credentials are ready, it’s time to get n8n configured and load the pre-built workflow template. Using a template is the fastest way to automate Shopify order fulfillment workflow because all the node logic is already built — you just need to connect it to your specific store.
Log into your n8n instance (cloud or self-hosted). From the main dashboard, click the + New Workflow button, then select Import from URL or browse the template library. Search for “Shopify order fulfillment” to find the official template. Alternatively, you can import it directly from n8n’s workflow template page (linked in the tools section above).
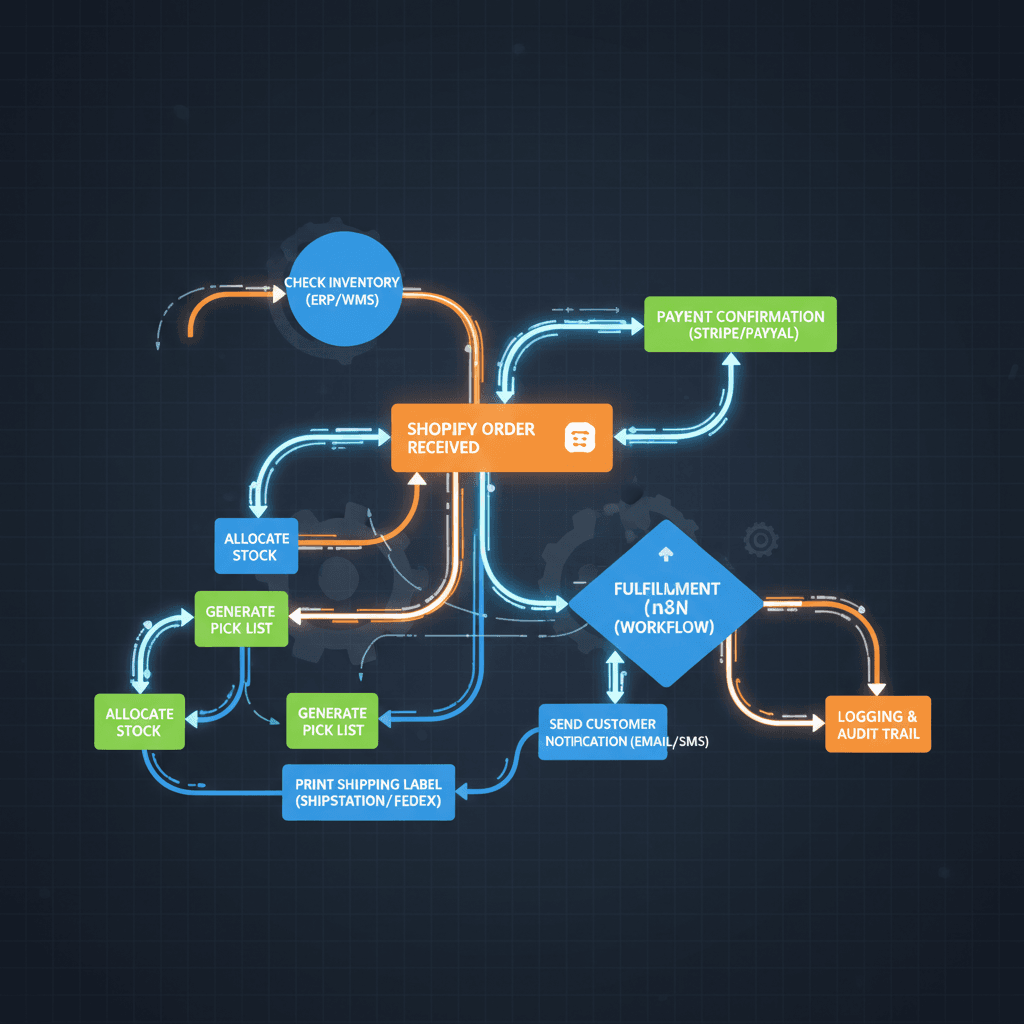
Once the template loads on your canvas, you’ll see a series of connected nodes: a Schedule Trigger, an HTTP Request node that calls Shopify’s Orders API, a loop node that iterates over unfulfilled orders, another HTTP Request node that fetches Fulfillment Order IDs, and a final HTTP Request node that marks each order as fulfilled. Take a moment to click through each node and read the node descriptions — understanding what each one does will make troubleshooting much easier later.
Now connect your Shopify credentials. Click on the first HTTP Request node, navigate to the Authentication section, and select Header Auth. Add a header named X-Shopify-Access-Token and paste your API token as the value. Set the base URL to https://yourstore.myshopify.com/admin/api/2024-01/, replacing “yourstore” with your actual subdomain. Repeat this credential setup for the other HTTP Request nodes in the workflow.
Expected result: All nodes in your n8n workflow are connected to your Shopify store’s API without authentication errors.
Step 3: Configure the Schedule Trigger
The Schedule Trigger node is the heartbeat of your automation — it decides how often n8n checks Shopify for new unfulfilled orders. Getting this timing right is important: too frequent and you’ll burn through API rate limits; too infrequent and orders sit unfulfilled longer than necessary.
Click on the Schedule Trigger node to open its settings panel. You’ll see options for interval-based scheduling. For most stores processing moderate order volumes, a trigger interval of every 15 minutes strikes the right balance. If you’re running a high-volume store (hundreds of orders per hour), consider every 5 minutes. For lower-volume stores, every 30–60 minutes is perfectly fine and keeps your API usage lean.
Set the trigger mode to Interval, enter your chosen number of minutes, and save the node. You can also use a cron expression if you want more precise control — for example, */15 * * * * runs the workflow every 15 minutes around the clock.
One important consideration: Shopify’s REST API has a rate limit of 40 requests per second for standard plans and 80 for Shopify Plus. If your workflow processes a large batch of orders in a single run, add a Wait node between API calls to insert a 250ms delay and prevent rate-limit errors. This small addition makes your automation far more robust, especially as your order volume grows. The goal is to automate Shopify order fulfillment workflow in a way that’s sustainable at scale, not just for today’s volume.
Expected result: Your workflow is scheduled to run automatically at your chosen interval without manual triggering.
Step 4: Retrieve Unfulfilled Orders from Shopify
This is where the workflow actually pulls data from your store. The HTTP Request node targeting Shopify’s Orders API is configured to fetch only orders with a fulfillment status of “unfulfilled,” which means you’re never processing orders that are already complete or cancelled.
Open the Orders HTTP Request node. Verify the URL is set to: https://yourstore.myshopify.com/admin/api/2024-01/orders.json?fulfillment_status=unfulfilled&status=open&limit=250. The limit=250 parameter retrieves up to 250 orders per API call — Shopify’s maximum per page. If your store regularly has more than 250 unfulfilled orders at a time, you’ll need to implement pagination using the page_info cursor from Shopify’s response headers. For most stores, 250 per run is more than sufficient.
The node’s method should be set to GET, and the response format should be JSON. When n8n receives the response, it will contain an array of order objects, each with fields like id, order_number, line_items, and fulfillment_status. The downstream loop node will iterate over each order object individually, passing them one at a time to the fulfillment steps.
This step is also where n8n handles edge cases that basic Shopify settings can’t manage — like partially fulfilled orders. Because you’re working with the full API response, you can add an IF node to filter out partially fulfilled orders and route them to a separate notification workflow, keeping your main fulfillment path clean and error-free.
Expected result: n8n successfully retrieves a JSON array of all open, unfulfilled orders from your Shopify store.
Step 5: Fetch Fulfillment Order IDs and Mark Orders as Fulfilled
This two-part step is the core of the entire automation — it’s what actually closes the loop and marks your orders as fulfilled in Shopify. Many store owners don’t realize that Shopify’s API requires a separate call to retrieve the Fulfillment Order ID before you can mark an order as fulfilled. The standard Order ID and the Fulfillment Order ID are different objects, and skipping this lookup is the most common reason DIY automations fail.
In the first HTTP Request node of this step, the URL follows this pattern: https://yourstore.myshopify.com/admin/api/2024-01/orders/{{$json["id"]}}/fulfillment_orders.json. The {{$json["id"]}} expression dynamically inserts the current order’s ID from the loop. This call returns the Fulfillment Order ID you need for the next request.
In the second HTTP Request node, set the method to POST and the URL to https://yourstore.myshopify.com/admin/api/2024-01/fulfillments.json. The request body should be JSON formatted as: {"fulfillment": {"line_items_by_fulfillment_order": [{"fulfillment_order_id": {{fulfillmentOrderId}}}]}}. This tells Shopify to mark that specific order as fulfilled.
After both nodes execute successfully for each order in the loop, Shopify updates the order status in real time. Your customers will automatically receive Shopify’s built-in fulfillment notification emails (or SMS if you’ve configured that). This is how you fully automate Shopify order fulfillment workflow from trigger to customer notification, with zero manual intervention. For teams wanting to extend this further, our Business Process Automation services can integrate this workflow with your warehouse management system or ERP.
Expected result: Each unfulfilled order is marked as fulfilled in Shopify, and customers receive automatic fulfillment confirmation notifications.
Step 6: Add Error Handling and Notifications
A workflow that runs silently when things go wrong is dangerous. This final build step adds a safety net — error handling nodes that catch API failures, rate limit errors, or unexpected response formats, and alert you immediately so no order falls through the cracks.
In n8n, click the three-dot menu on any HTTP Request node and select Settings. Enable the Continue on Fail option. This tells n8n to keep processing other orders even if one API call fails, rather than stopping the entire workflow. Connect the error output of your HTTP Request nodes to an Email or Slack node that sends you an alert with the failed order ID and the error message.
You should also add a final Merge node at the end of the workflow that aggregates all processed orders into a summary. Connect this to a daily summary email or a Google Sheets log so you have a complete audit trail of every order your automation touches. This is especially valuable if you ever need to investigate a customer complaint about a missing fulfillment.
For stores using 3PL providers, this is also the step where you’d add an additional HTTP Request node to ping your 3PL’s API and trigger their pick-and-pack process. Shopify supports connecting custom fulfillment services under Settings → Shipping and Delivery → Custom fulfillment services, and your n8n workflow can mirror that routing logic programmatically. You can even combine this with AI Chatbot Solutions to let customers query their order status in real time through a chat interface.
Expected result: Your workflow gracefully handles errors, logs all activity, and alerts you to any issues without stopping the entire fulfillment run.
Testing and Validation: Confirming Your Automation Works
Before you let this workflow run live on real customer orders, you need to validate every step using a controlled test. This protects your customers from receiving incorrect fulfillment notifications and protects your store’s data integrity.
Start by creating a test order in your Shopify admin. Go to Orders → Create order, add any product, and mark payment as received. Leave it in “unfulfilled” status. Now return to n8n and click Execute Workflow manually (the play button at the top of the canvas). Watch each node execute in sequence — green checkmarks indicate success, red X marks indicate failures.
After execution, return to your Shopify admin and check the test order. It should now show a fulfillment status of “Fulfilled” with a timestamp matching your test run. If you configured customer notifications, check that an email was sent to the order’s email address. Also verify your error log (Google Sheets or email) received an entry for the processed order.
Run this test three times with different orders to confirm consistency. Then enable the Schedule Trigger and monitor the first two automated runs by watching the n8n execution log in real time. Once you see two successful automated runs, your workflow is production-ready. This validation process is how you confirm that you’ve successfully managed to automate Shopify order fulfillment workflow reliably, not just once, but repeatedly at scale.
Troubleshooting Common Issues
| Issue | Likely Cause | Fix |
|---|---|---|
| 401 Unauthorized error | Invalid or expired API token | Regenerate your Shopify Admin API token and update all HTTP Request nodes |
| Orders not being retrieved | Wrong API scope or incorrect URL parameters | Confirm read_orders scope is enabled; check fulfillment_status=unfulfilled in URL |
| Fulfillment Order ID not found | Order ID expression mapping error in n8n | Use the n8n expression editor to verify {{$json["id"]}} resolves correctly |
| Rate limit (429) errors | Too many API calls per second | Add a Wait node (250ms delay) between HTTP Request nodes in the loop |
| Orders marked fulfilled but customer not notified | Shopify notification settings disabled | Check Settings → Notifications → Order confirmed is enabled in Shopify |
| Workflow runs but no orders processed | No unfulfilled orders exist at trigger time | This is expected behavior — create a test order to confirm the workflow logic is correct |
| Partially fulfilled orders causing errors | Workflow not filtering partial fulfillments | Add an IF node to check fulfillment_status != "partial" before processing |
ROI and Time Savings: Why You Need to Automate Shopify Order Fulfillment Workflow
Let’s talk numbers, because this is where the case for automation becomes undeniable. Consider a store processing 100 orders per day. If each manual fulfillment action takes just 2 minutes — opening the order, clicking fulfill, confirming — that’s over 3 hours of pure repetitive labor every single day. Over a month, that’s 90+ hours your team spends on a task that adds zero strategic value.
When you automate Shopify order fulfillment workflow with n8n, those 90 hours become 0. The workflow runs every 15 minutes, processes every unfulfilled order, and closes the loop — while your team focuses on customer experience, marketing, and growth. As one industry expert puts it: “Automating fulfillment data imports reduces manual workload and minimizes errors, keeping orders up to date effortlessly.”
Beyond time savings, automation eliminates the human error that inevitably creeps into manual processes — wrong fulfillment statuses, missed orders during peak periods, inconsistent customer notifications. Real-time inventory syncing across channels prevents overselling, and automatic label generation with carrier integrations (DHL, FedEx, USPS) speeds up your actual shipping time. Shopify Plus users who leverage Flow alongside n8n can automate 100% of routine fulfillment tasks, scaling to virtually any order volume without adding headcount.
The setup investment of 60 minutes pays itself back within the first day of operation. Every day after that is pure gain.
Next Steps and Conclusion
You’ve now built a production-grade system to automate Shopify order fulfillment workflow from end to end — from scheduled order retrieval through API-driven fulfillment marking, error handling, and customer notification. This is a foundation you can extend in powerful directions.
Consider adding a 3PL routing layer that sends order details to your warehouse partner’s API the moment n8n detects a new unfulfilled order. Or integrate SMS notifications using Twilio so customers get a text the moment their order ships. You can even layer in fraud detection logic — an IF node that pauses fulfillment on high-risk orders and routes them to a manual review queue — before automation takes over for everything else.
For teams that want to go further without building everything themselves, explore our n8n Workflow Automation Services where we design, build, and maintain custom workflows tailored to your exact operations. And if you’re thinking about how automation fits into your broader business systems, our Business Process Automation team can map your entire order-to-cash process and identify every opportunity to eliminate manual work.
The bottom line is simple: every hour you spend manually processing orders is an hour you’re not spending growing your business. When you automate Shopify order fulfillment workflow with n8n, you’re not just saving time — you’re building a scalable operation that grows with you, handles peak seasons without breaking a sweat, and delivers consistent customer experiences every single time.
Your Team Is Drowning In Repetitive Tasks
We automate them with AI so you can focus on growth